
Making your own ringtone in GarageBand and exporting to iTunes is easier than you think
The ability to create and install home-made ringtones is surely near the top of the wishlist for most smartphone users, but the iPhone doesn’t exactly make it obvious how to achieve this. While you can purchase versions of your favourite tracks from the iTunes Store to use as ringtones from within the Settings pane of your iPhone, creating your own custom tones requires a combination of GarageBand and iTunes.
Creating your own tones isn’t difficult, but it’s enough of a process to put it firmly into the ‘I didn’t know you could do that’ category. So in this guide, we’ll show you how to fashion your own custom ringtone entirely from scratch. All the necessary files to follow this tutorial can be found on this issue’s cover disc.
Step-by-step Make your own iPhone tone1 Open Ringtone template
In GarageBand’s new intro screen, select the New Project tab in the left column. Click on the Ringtone icon to highlight it, then click the Choose option.
2 Add audioClose the Apple Loops browser. Next, in the Finder, browse to the location of the audio files you want to add. Drag and drop them into GarageBand’s timeline at bar 1.
3 Turn off metronomeThese files have been recorded at the current project tempo of 120bpm, and we won’t be recording any new material, so we can disable the metronome with this button.
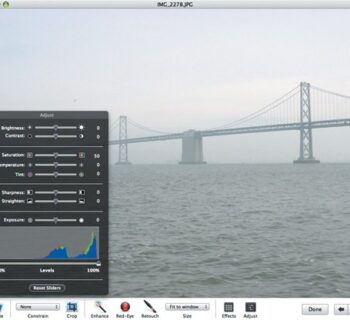
4 Balance volumes
Use the volume sliders in the track headers to balance the volume levels of the individual tracks. Here we’re turning down the level of the synth lead slightly.
5 Show Master track
To get the track ready for export, select the Show Master Track option from the Track menu. This places the Master track at the bottom of your arrangement.
6 Take control
Click the Master Track’s header to select it, then click the Smart Controls button to bring up controls for the Master effects. These affect the sound of the entire project.
7 Put on the squeeze
Flick the switches to enable the Squeeze, Compression and Limiter knobs and set the controls as shown. This will ensure a clear, punchy sound without any clipping.
8 Set cycle region
The yellow cycle region is turned on by default in the Ringtone template project. Drag its edges to determine the precise portion of the track exported when you share it.
9 Share to iTunes
From the Share menu, select the Ringtone to iTunes option. GarageBand will render, normalise and convert your track into an .m4r file and open it in iTunes automatically.