
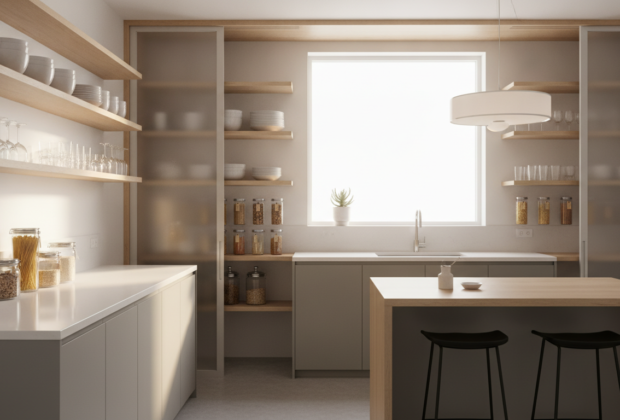
Of all the rooms in a house, the kitchen tends to collect clutter the fastest. Between mismatched food storage containers, gadgets you used once, expired spices, and a junk drawer that seems to multiply overnight, it's easy for this high-traffic space to spiral out of control. The good news? A clear, room-by-room approach makes the job manageable, even if you only have an hour to spare. This declutter kitchen checklist breaks the process into digestible zones so you can tackle one area at a time without feeling overwhelmed.
Why the Kitchen Gets Cluttered So Fast
The kitchen is a high-traffic zone where cooking tools, food, paperwork, and even random household items tend to land. Mail piles up on the counter, kids' school notices stick to the fridge, and every new kitchen gadget promises to make life easier but ends up shoved in a drawer. Because we use this room daily, clutter accumulates quietly until one day the counters are buried and you can't find a matching lid to save your life.
The Room-by-Room Mindset
Instead of trying to declutter the entire kitchen in one overwhelming sweep, break it into distinct zones: counters, cabinets, drawers, pantry, fridge, and under-sink storage. Working zone by zone keeps the task from feeling endless and lets you see visible progress quickly, which helps maintain motivation.
Step 1: Clear the Counters First
Start with counters because they have the biggest visual impact. Remove everything and sort items into three piles: keep, relocate, and donate/toss. Ask yourself if each appliance or item is used at least once a week. If not, it likely belongs in a cabinet or should be donated.
- Small appliances used daily (coffee maker, toaster) can stay out
- Rarely used gadgets (ice cream makers, waffle irons) go into storage
- Mail, paperwork, and school flyers need a dedicated home outside the kitchen
Step 2: Tackle Cabinets and Cookware
Pull everything out of each cabinet, one at a time, and wipe down the shelves. Check pots, pans, and bakeware for damage or duplicates. Most households only regularly use a handful of pots and pans; the rest can be donated.
Handling Lids and Tupperware
Food storage containers are notorious clutter magnets. Match every lid to its container, and if you can't find a match, toss it. Keep only the sizes you actually use for meal prep or leftovers.
Step 3: Sort Through Drawers
Drawers accumulate loose utensils, rubber bands, and stray batteries faster than any other kitchen zone. Empty each drawer completely and use small bins or dividers to keep utensils organized once you put items back.
- Keep only one of each essential utensil (one whisk, one set of measuring spoons)
- Relocate non-kitchen items like tools or office supplies
- Toss broken or single-use gadgets you haven't touched in over a year
Step 4: Declutter the Pantry
Check expiration dates on every item and toss anything expired or stale. Group similar foods together (grains, canned goods, snacks) so you can see what you have at a glance, which also helps reduce duplicate grocery purchases.
Step 5: Clean Out the Fridge and Freezer
Remove every item, wipe down shelves, and discard anything expired or unrecognizable. Organize by category, such as condiments, dairy, and leftovers, so items don't get pushed to the back and forgotten.
Step 6: Under-the-Sink and Cleaning Supplies
This often-overlooked area collects half-used cleaning products and extra sponges. Consolidate duplicate cleaners, toss anything expired, and use a small caddy to keep supplies organized and easy to grab.
Maintaining Your Newly Decluttered Kitchen
Once you've completed this declutter kitchen checklist, maintenance is key. Do a quick five-minute counter reset each evening, and revisit cabinets and the pantry seasonally to catch clutter before it builds up again. Small, consistent habits keep the kitchen functional and enjoyable to use.
Final Thoughts
Decluttering your kitchen room by room turns an overwhelming task into a series of manageable wins. By working through counters, cabinets, drawers, the pantry, the fridge, and under-sink storage systematically, you'll create a kitchen that's easier to clean, cook in, and enjoy every single day.