 Never worry about having business cards with you again – it’s time to go digital
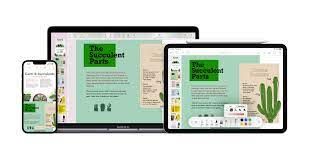
Business cards have long been a useful tool for networking with potential business clients or contacts. However, technology has moved on significantly in recent years. We store the contact details of our friends and family digitally on our phones and computers, so it makes sense that business cards should evolve from paper to phone, too.
Gone are the days of having a Rotadex storing the precious contact details of all of the people you’ve ever done business with – now it’s time to go digital, and with Pages, you can do just that. With a few minutes and a whole host of creative tools in Pages, you can create a professional looking digital business card to share with your existing and soon-to-be business contacts. Follow our handy guide to get started.
Step-by-step Create a digital business card
1. Change your dimensions
Select the Blank Landscape template. Navigate to File>Page Setup. Click on Paper Size and select Manage Custom Sizes. Set the Paper Size Width to 85mm and the Height to 55mm.
2. Convert to Page Layout
Press OK. Head back to the File menu and select Convert to Page Layout – this converts our document into one more suited to being creative. Next, we’re going to create a logo.
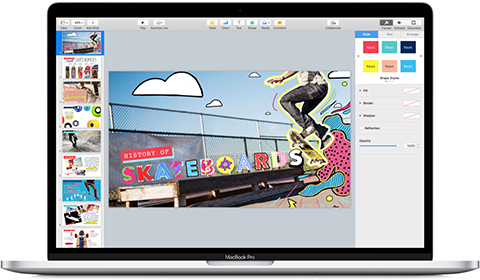
3. Create a logo
Click on Shapes at the top and choose a square. Drag the square to the left-hand side of the business card. Click Fill in the Format panel and choose a colour from the Colour Fill heading.
4. Style your logo
Drag the Opacity slider to 50%. This will make your square slightly translucent. Copy and paste your square twice, offsetting them both at a diagonal. Make the colours lighter.
5. Add some text
Click on the Text icon and choose a style of text from the pop-out box. Re-size the text box to cover the right-hand side of the business card. Type in some business contact details.
6. Style your text
Highlight the text you’ve just added and change the font using the options listed under the Font heading in the right-hand column. We’ve chosen Helvetica Neue to keep things clean.
7. Make it bigger
Change the font size to 10pt by pressing the up arrow next to the font size box. Next, just highlight the business name and set it to a larger size than the rest of the text.
8. Frame your card
Frame your card with a border. Click the Shape icon and choose a line. Place a line at the top and bottom of the card – customise the lines using the options in the right-hand column.
9. Export and share
Once you’re happy with your business card, navigate to File>Export To. Choose PDF from the pop-out menu. Set the PDF’s Image Quality to Best and give your business card a name.