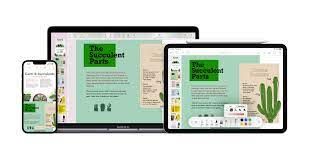
Use iPhoto’s Web Journal tool to create a beautiful online gallery to show off to your friends
Sharing photos on iPad is easy, but with iPhoto it can also be incredibly beautiful. The app enables you to perfectly edit all your shots, of course, but with the great sharing options on offer you can also put them on show to the world with just a few taps. One of our favourite options, Web Journal, lets you customise a gallery with a bespoke design, size options for each image and built-in additions like maps and calendars that can help you tell a visual story with your shots.
Once you’ve created your journal and customised your tiles, you can share it with friends directly or publish it to your iCloud account for everyone to see. We’ve detailed exactly how this works across these two pages. The iPad and creativity go hand in hand, as we’re about to prove.
Step-by-step Share a stunning web journal
1 Choose Web Journal
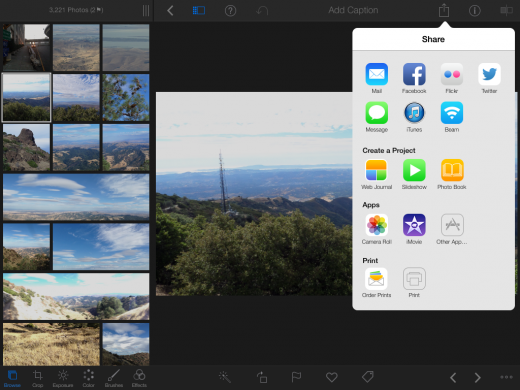
First, tap on a photo to start the process and tap the Share button in the top-right of the screen. From the drop-down menu, select the Web Journal option beneath Create a Project.
2 Pick your photos
Before you can continue you’ll need to select the photos you want to include in the journal. You can simply select all the shots in the current album or choose your shots manually instead.
3 Tap or select range
If you tapped Choose Photos, you’ll be able to tap the images you want to use to select them. Alternatively, tap Range in the top bar and tap the first and last image.
4 Pick a design
You’ll now be able to select the design you want for your journal from the six options on offer and give your journal a title, which can be changed later if you wish.
5 Edit
Your photos will be laid out automatically on the design you chose, with different size and shapes of shot included automatically. Tap the Edit button to access more options.
6 Customise your title
First, tap the title of your journal to be presented with options for different fonts and alignments of the text. You can move the title like any other piece of text in the journal.
7 Add elements
Tap the ‘+’ button in the top menubar and you can add extra items to your journal. Include maps, currency, weather and more to help your journal tell a story.
8 Move it around
Tap and hold on any item on the page and you can move it around the interface. The app will automatically shift things around to make room, so you can perfect your layout.
9 Share online
When you’re happy with your layout, hit the Share button again and select iCloud. You can then share your link to the web journal with others, or view it in Safari.